
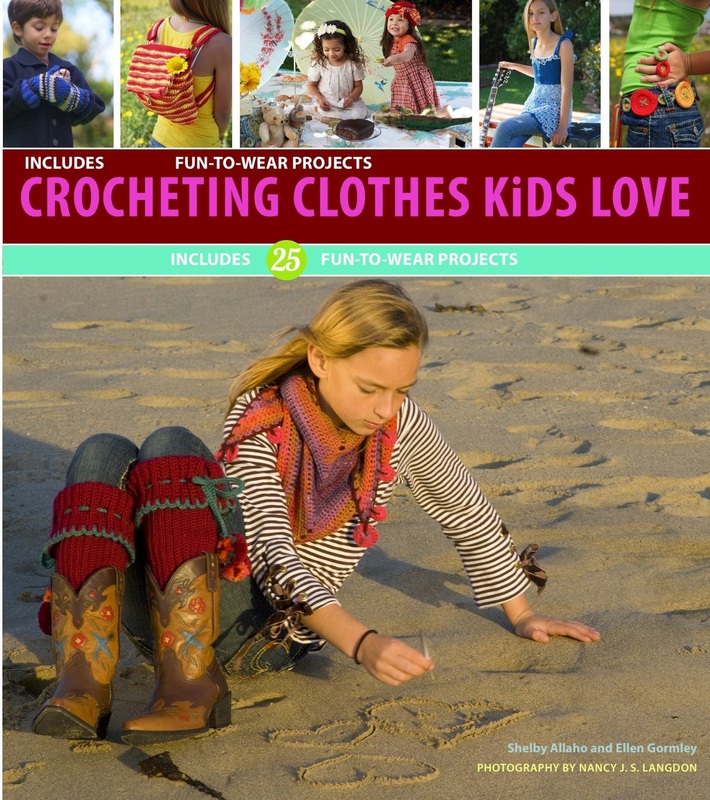
 Book Review Crocheting Clothes Kids Love By Shelby Allaho and Ellen Gormley Reviewed by Jamie Etheridge Whether you are a beginner or a seasoned crocheter, you probably have favorite items you like to create. If you are a mom and a crocheter, much of your time will be spent crocheting items for your kids. There are a world of fun amigurumi dolls, princess tiaras, pirate eye patches and other cute patterns to make things for children but until recently very few children’s clothes crochet patterns. A mom in Kuwait, Shelby Allaho and her co author, Ellen Gormley, have created a book of 28 fun projects that fill this void. The book provides a range of projects from fun and unique accessories like the whimsical wheel necklace and daisy flower headband to wearable sunny day skirts, vests and tank tops. There are also some really cool and fun projects like the Mohawk Earflap Hat and the Zebra Cropped Hoodie sure to appeal to kids’ fun and whimsical side. The patterns are straightforward and clearly explained and categorized into easy, intermediate and more advanced. I love the diversity of projects in the book and the many tips, tricks and loads of guidance provided, especially in helping explain the construction of each project, how to plan it and how to execute it even before you begin to crochet. With each pattern and project, specific instructions on finishing, detailing and assembly are also provided, making the book much more accessible for crocheters of all different levels. Take for instance the Plate Steel Tunisian Crochet T-Shirt. The pattern provides clear instructions for each of the special stitches used, detailed information on the type of yarn, gauge and hook as well as the stitch instructions for each section of the T shirt. But it goes a step further to provide a full schematic of the shirt’s construction as well as assembly, finishing and edging. As a beginning crocheter myself, I plan to start with the easy level patterns like the daisy headband, the graphic messenger bag and the girl’s charm bracelet. I’ve already learned several new things about crochet including the very useful invisible fasten off to help make projects look cleaner and more professional. The fun thing about Crocheting Clothes Kids Love is that it’s a book you can build your skills as a crocheter while your children grow. You can start with the easier projects and work your way up to the more challenging ones. You can also involve your kids in helping choose the patterns and projects they want to wear and choosing the colors. My older daughter has already asked me to make her the lacy sundress in pink and I will make the prim wristers for my preschooler. Even my hubby has gotten in a request - for the Mohawk earflap hat! You can buy a copy of Crocheting Clothes Kids Love at Crafty in Kaifan Mall, basement level. It’s the perfect addition to any mom’s crocheting book library.  The story of a stitch
An interview with crochet book author Shelby Allaho She’s a mom, a crochet designer, blogger and now author of the newly published Crocheting Clothes Kids Love. In an interview with Kuwait Moms Guide, Shelby Allaho shares her experience of writing a book on crochet, how she handled the challenge of working from Kuwait and what she learned from the adventure. KMG: Where did the idea for this book originate? Shelby: The publisher had already published two other books in this series: Sewing Clothes Kids Love and Knitting Clothes Kids Love, and this was the next title they wanted for the series. I was recommended to the editor, because I have a background in childrenswear design, and I won the grand prize in the Crochet Guild of America’s annual design contest with a child’s mixed-media coat. KMG: How did you choose the projects/patterns to include? Shelby: The publishers gave my co-author Ellen Gormley and I a wish list of the type of projects they wanted to see in the book. That was our base to start designing from, and then we added a few more projects to round out the selection. Each of us sketched ideas on our own, and then negotiated who would do what. We had never worked together before, and it went amazingly well. We each got to create what we really wanted! KMG: What challenges did you face in the writing of the book? Shelby: My biggest challenge was having to submit the sketches and then design pieces to match the sketches. Normally, I sketch a design and then use that sketch as a jumping off point. Once I start crocheting, a piece can go in a very different direction. I have a freeform style of working. Rarely does my finished piece look like my original sketch! KMG: Was there anything Kuwait-specific that you learned/faced in the book's writing? Shelby: The internet truly made this book possible. I am still amazed that I never had to talk on the phone with my editor or co-author during the entire process! It would have been easier if I had been in the US because of the high cost of having the yarn sent to me and shipping the projects to the publisher, but other than that all went smoothly. KMG: Was there anything that you learned from writing this book that you think will be helpful to all other crocheters and/or moms in Kuwait? Shelby: I learned that crocheting for children is a wonderful experience. They can get involved in the design process by choosing yarn colors and customizing the projects by deciding where the colors will go. Elements of the designs can be mixed and matched as well. For example the pompoms on the Hopscotch Legwarmers can be used on the Pretty Popcorn Vest instead of the tassels. When children are involved in the process, they feel an even bigger sense of pride when they wear their handmade pieces. The patterns in the book can also be adapted for adults. Recently, I did a blog post about how to use the Charming Bracelet pattern to make a necklace for adults. Most of the accessories are easily made larger by adding rows or length to the pieces. KMG: What is your favorite thing to crochet (project, yarn or stitch?) Shelby: My favorite things to crochet are accessories, especially scarves and jewelry. I also like adapting my scarf patterns to make jewelry, and vice-versa. Shelby Allaho holds a degree in fashion design and worked as an art department director for embroidery design firm, before becoming a crochet designer. Her designs have been published by yarn companies such as Berroco, and Premier Yarns, and in Interweave Crochet, Inside Crochet, and in the near future, Crochet! magazine. Being a crochet designer allows her to work from home and still be a full-time mother. Thankfully, the internet and social media give her the ability to work as a designer anywhere in the world. You can follow her adventures in crochet on her blog: www.stitch-story.com, on twitter as @StitchStory, and on Instagram as: @stitchstorycrochet. Editor's Note: The book review and interview were originally published in Issue #11 of the KMG Newsletter. 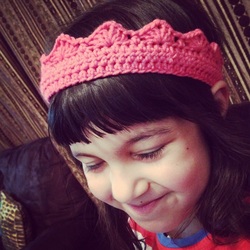 My girls are infatuated with Frozen, Queen Elsa and Princess Ana so I decided to make them some fun crochet tiaras for dressing up. This was a super easy and simple project, took about 25 minutes and they loved them.
To make the tiara: Start with a foundation chain. I chained 66 to fit the circumference of my daughter's head. You can chain in multiples of six until you get the right size (smaller kids will need fewer chains, for example). Once you've got the length you want, join the chain with a slip stitch, be sure not to twist the chain. Then hdc three rounds. I joined each round with a slip stitch, rather than crocheting in the round but you can do either. For the crown part, chain two, skip two stitches and 3 dc into the next stitch, chain 2, then 3 dc into the same stitch. This will create the crown effect. Do this all the way around and join with a slip stitch. There are several ways to do this: Here are a few other patterns/links. You can adjust any of them to get the look you want. Toddler Crown Princess Crown Royal crown patterns for kids 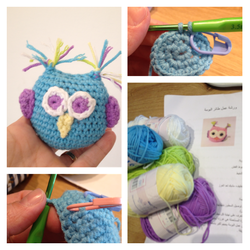 One of the most difficult but fun things to crochet are toys - known as amigurumi. They are small and every single stitch counts so mistakes show easily and can really throw the project off. This baby owl, however, is really super easy and doesn't take too long to make.
If you have tried amigurumi before and given up, I'd say this will change your mind. It's really easy to make and only takes about two to three hours (for a beginner). Very important to note that you should use a stitch counter to mark each round so that you don't lose the count. I used Excel yarn and a size 4 hook. The smaller the hook, the tighter the stitches and the less the fiberfill will show through. Pattern (Thank you for sharing Muna) Start with a magic circle. Round 1: 1 Ch, 6 sc Round 2: 1sc, 3 sc in the next stitch, 3 sc in the next stitch, repeat. (1,3,3,1,3,3). Total 14 stitches. Round 3: 1 sc, 1 sc, 1 sc, 3 sc in the next stitch, 3 sc in next stitch, 1 sc, 1 sc, 1 sc, 1 sc, 3 sc in next stitch, 3 sc in next stitch, 2 sc. Total 22 stitches. Round 4: 1 sc, 1sc, 1 sc, 1 sc, 2 sc in next stitch, 2 sc in next stitch, 2 sc in next stitch, 1 sc, 1 sc, 1sc, 1sc, 1sc, 1sc, 1sc, 1sc, 2 sc in next stitch, 2 sc in next stitch, 2 sc in next stitch, 1 sc, 1 sc, 1sc, 1sc. Total 28 stitches. Round 5: 1sc, 1sc, 1sc, 1sc, 1sc, 1sc, 2 sc in next stitch, 2 sc in next stitch, 1 sc in each of the next 12 stitches, 2 sc in next stitch, 2 sc in next stitch, 1 sc in each of the next 6 stitches. Total 32 stitches. Rounds 6-12: 1 sc in each stitch. Total 32 stitches. Round 13: 1 sc in each of the next 10 stitches. 1 sc2tog (decrease), 1 sc in each of the next 14 stitches, 1 sc2tog (decrease) 1 sc, 1sc, 1sc, 1sc. Total of 30 stitches. Round 14: 1 sc in each of the next 14 stitches, 1 sc2tog (decrease), 1sc, 1sc, 1sc, 1sc, 1 sc2tog (decrease), 1sc in each of the next eight stitches. Total of 28 stitches. Round 15: 1 sc in each of the next six stitches, 1 sc2tog (decrease), 1sc in each of the next 18 stitches, 1 sc2tog (decrease). Total of 26 stitches. Round 16: 1 sc, 1 sc, 1 sc2tog (decrease), 1 sc in each of the next nine stitches. Total of 24 stitches. Round 17: 1 sc, 1 sc2tog (decrease), 1 sc in each of the next eight stitches, 1 sc2tog (decrease), 1 sc, 1 sc, 1 sc, 1 sc2tog (decrease), 1 sc in each of the next six stitches. Total 21 stitches. Round 18: 1 sc, 1 sc2tog (decrease) 1 sc in each of the next four stitches. End with slip stitch. Leave a long tail of yarn to use to sew the owl closed. You will need fiber fill (you can find it at any of the crafting or yarn shops in Kuwait ) to fill up the owl. Once you have it full, sew the owl's top together with the points at the edges. Eyes Using white yarn, crochet 5 ch, slip stitch to join and then double crochet 12 stitches around. I used safety eyes in the middle but you can crochet a small colored circle using a magic circle to fit inside the white. Leave a long tail to use for sewing the eyes onto the body of the owl. You may also want to use a stitch marker to hold the eyes in place on the body as you sew them on to keep them even and in place. Wings Using a different colored yarn, start with a magic circle. Round 2: 12 dc, join with slip stitch and tie off. You can pinch the sides of the owl as you sew on the wings to help them stand out more. Leave a long tail to use for sewing onto the sides. Nose Using another colored yarn or the same as the wings, single crochet three, turn and 2sctog (decrease) and then turn and one 2sctog (decrease) and tie off. Leave a long tail to use for sewing on the sides. Hair Cut about 2 inch lengths of different colored yarns, pull through the pointed edge of the baby owl at the top and then tie in a knot. I mixed in several colors yarn to get a nice look. Abbreviations Ch - Chain SC - Single Crochet DC - Double Crochet 2sctog - Decrease This is my weekend downtime project. Pronounced 'ah mee gu ru mi', crochet toys are a popular trend in Kuwait. They look cute and simple but are in fact quite difficult to do for beginners, especially if you are not used to working with smaller hooks or thinner yarns.
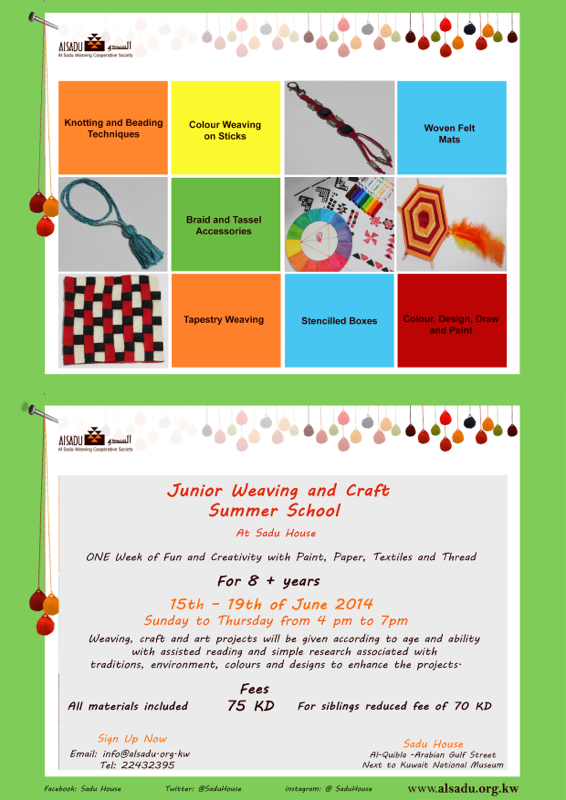
I've tried and failed a few amigurumi toys before, including a whale, but refusing to give up I found this video online for beginners who want to learn amigurumi. Most of the stitches you will need to know are very simple: chain, single crochet, decrease (together) and slip stitch. The video calls for worsted weight yarn. I used Excel, which is soft, flexible and of medium thickness and a 4mm hook. I have actually finished the first part of one ball and will hopefully have time over the weekend to make a few more. The video is super easy to follow and I'm thinking to make a set of the crochet balls for the girls and even perhaps start on some crochet Christmas tree balls for the next holiday season. You can find yarn, embroidery thread, buttons and fiberfill at Swaad al Damkhi, Barakat and other yarn and craft shops in Kuwait. I found glue on eyes at the stationary shop in the Salwa coop. 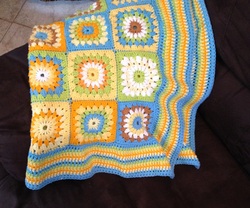 This is my first granny square afghan. (I made a giant granny square afghan last year but this is my first time to make small grannies and then crochet them together.) I used a simple sunburst pattern for the inside of the granny squares in order to create a 'flower' effect but then finished it with double crochet on the outside. The blanket came out relatively small - more like a lapghan than an afghan - because I only used 24 squares. I then added a multi-round border using double crochet for the blue and single crochet for the other colors in order to emphasize the blue a bit. I deliberately chose vibrant, loud colors because my 2.5 year old tends to be a bit on the quiet/shy side and I wanted a bit of contrast. I used Excel yarn and a 5mm hook. Since this was my first granny afghan, I wanted to keep it small so that I could experiment. Some of the skills I learned in the making: how to randomize the colors, how to crochet the sunburst pattern, how to join grannies and how to complete a border. Though I really enjoyed the process of this, I will likely choose a more simpler color scheme next time and also try to more closely follow a pattern for the entire afghan (I am still not proficient in following patterns!) 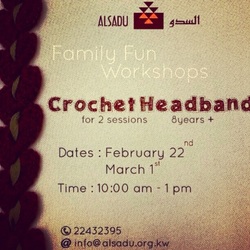 Kids can learn to crochet a headband with the help of the kind ladies at Sadu House. For children 8+ years and taught in two sessions.
I don't know the fee but if interested, call them at 2243-2395 or email them info@alsadu.org.kw 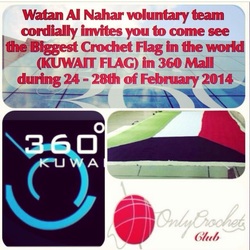 The Watan Al Nahar team invites people to come view the Biggest Crochet Flag in the World in 360 Mall from 24-28 February as part of the Kuwait National and Liberation Day celebrations.
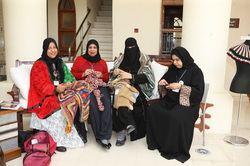 The ladies of Khayt Group are holding an exhibition to celebrate the National and Liberation Day holidays in Kuwait. Many of the members created items for the Colors & Meaning competition and winners were chosen for three categories: creativity, technique and design. The exhibition will run through Monday at Sadu House and can be visited in the mornings (9-noon) and in the evenings (5-7pm). Don't miss it. Khayt is a local community crochet group open to women of all nationalities that holds weekly workshops, offers lectures and courses and also charity projects including making and collecting hats for children in the NBK Hospital, Kuwait's orphanage and Syrian refugee children in Jordan and Turkey. 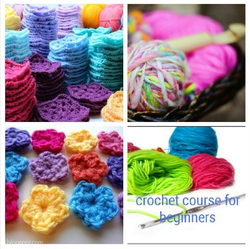 Khayt Group will offer a crochet for beginners course starting February 12 at Sadu House. The course will be open for all those interested, including moms and children and instruction will be in Arabic and English. A great way to introduce your kids to crochet or to learn the basics with someone helping. (Find more info on crochet in Kuwait with our list of crochet resources in Kuwait.)
Crochet for beginners will include six classes for a total of 12 hours. The classes will run from 12 Feb to 1 March and will be held on Saturdays from 9am-11am & Wednesdays from 5pm-7pm. The course is KD 45 with all supplies including yarn, hooks and patterns provided. Please register and pay in advance at Sadu House. You can WhatsApp 9996-0005 for more information. |
Archives
February 2019
|
 RSS Feed
